














How do you make bubble letters cute?
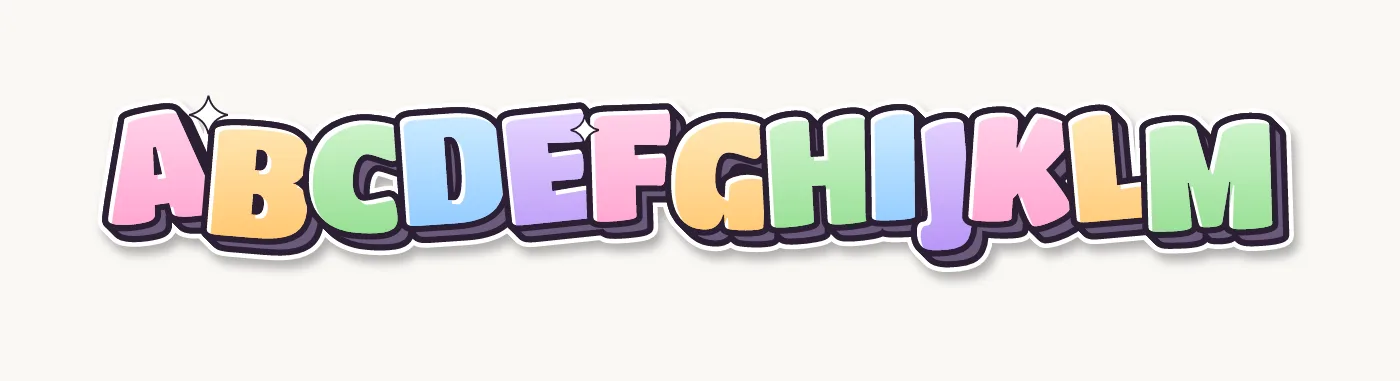
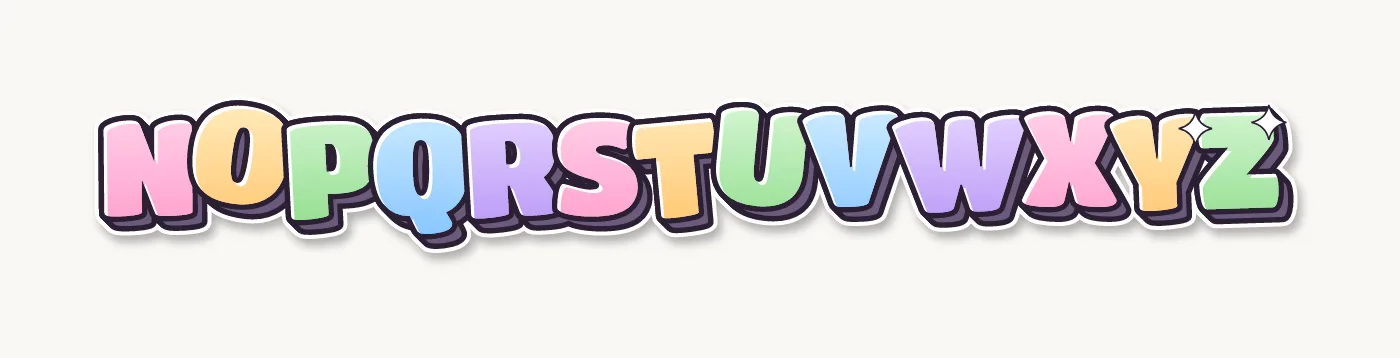
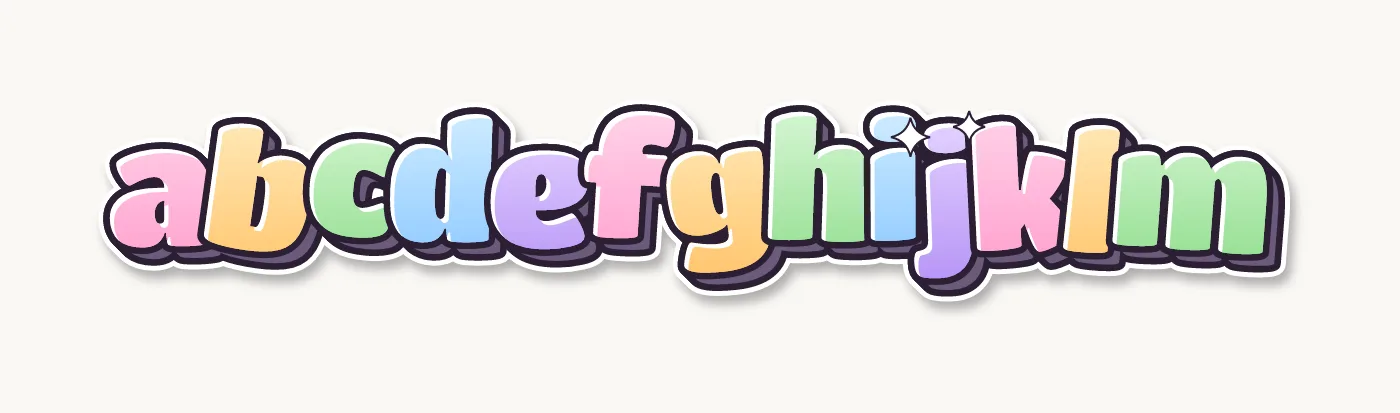
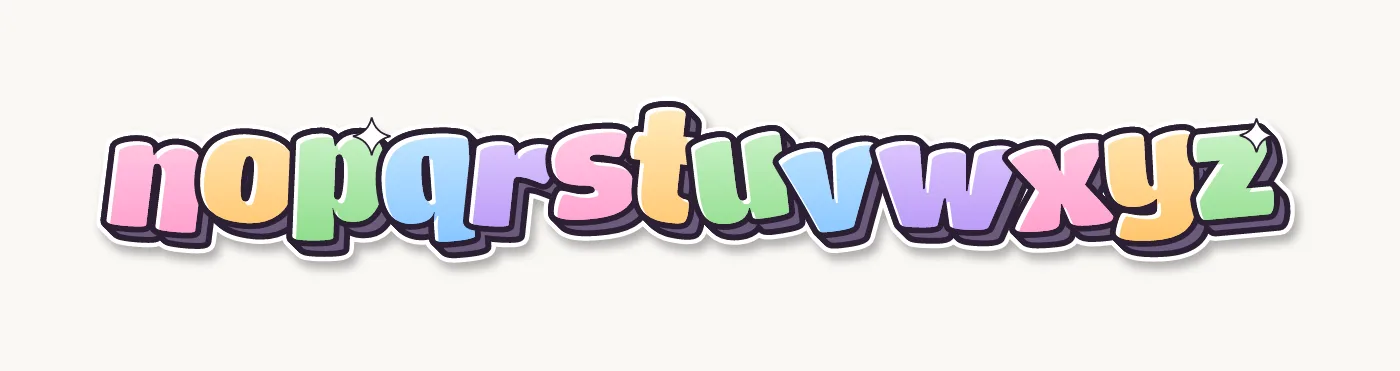
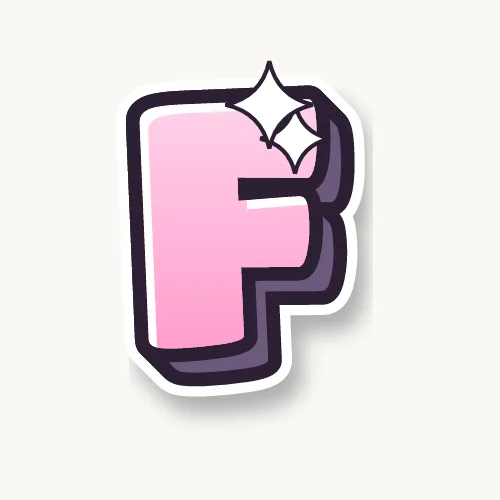
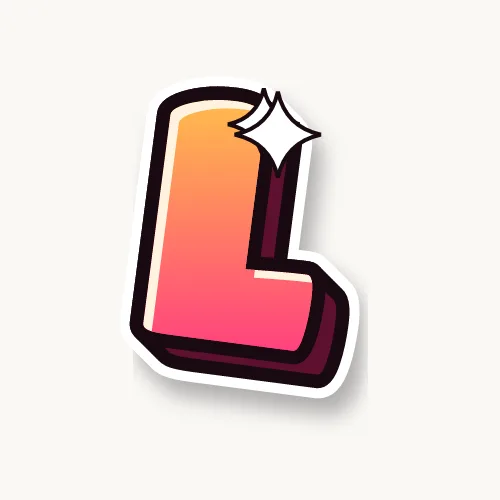
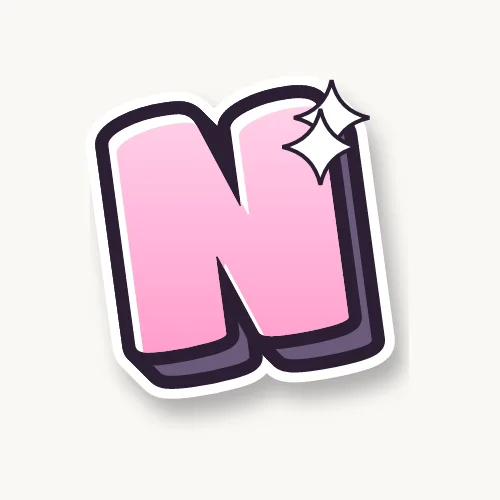
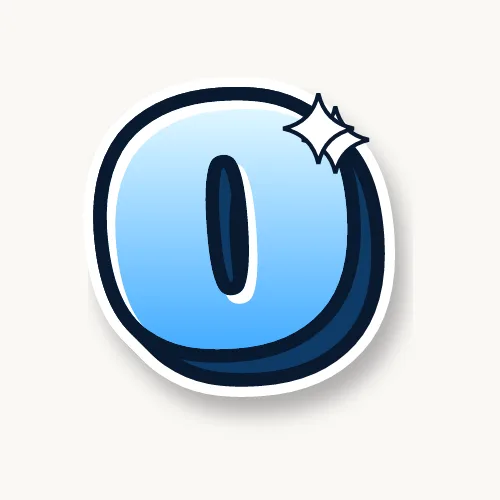
Make bubble letters cute by making them shorter, rounder and bouncier than normal, coloring them in pastels, and swapping plain details for tiny decorations: hearts for dots, stars for highlights, small faces in the round letters. Start from a normal bubble letter (the bubble letters guide has the basic method), then change these things:
- Squash the letters. Draw them wider and shorter than usual, like a balloon that is a bit too full. Chubby proportions read as cute; tall, thin ones read as serious.
- Round every end. No corners at all, even on K, M, W and Z. Every stroke ends in a soft, round tip.
- Make holes small. Shrink the openings in A, B, D, O, P and R to little ovals or slits. Thick bodies with tiny holes look puffier.
- Bounce the baseline. Tilt each letter a few degrees, alternate left and right, and lift every second letter slightly. Let neighbors touch or overlap a little so the word hugs together.
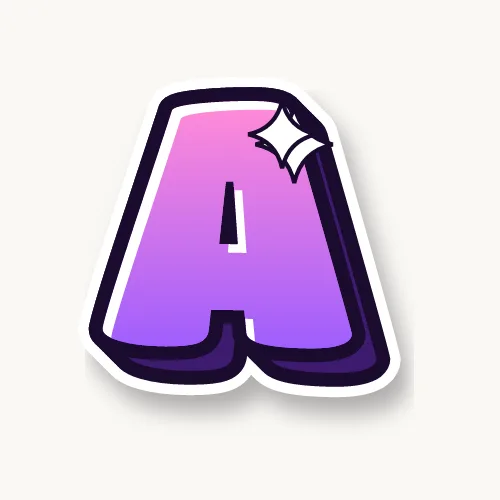
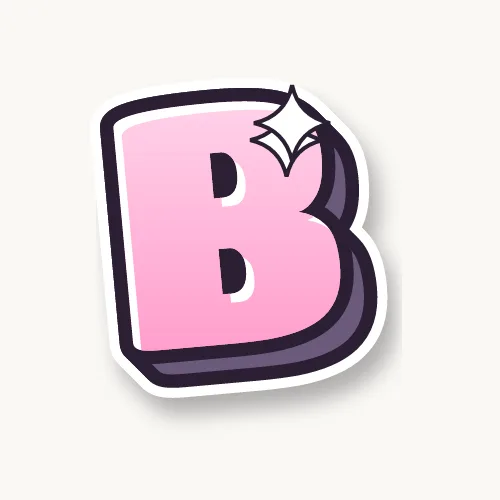
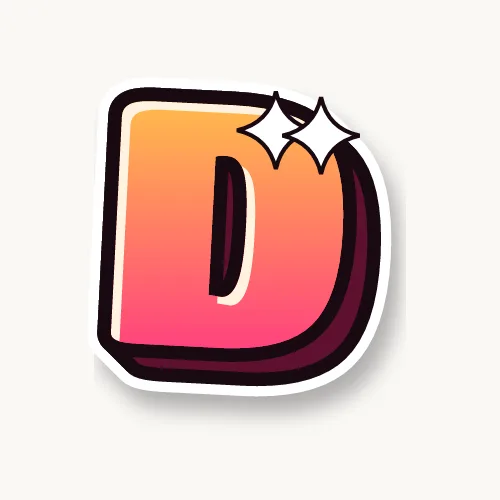
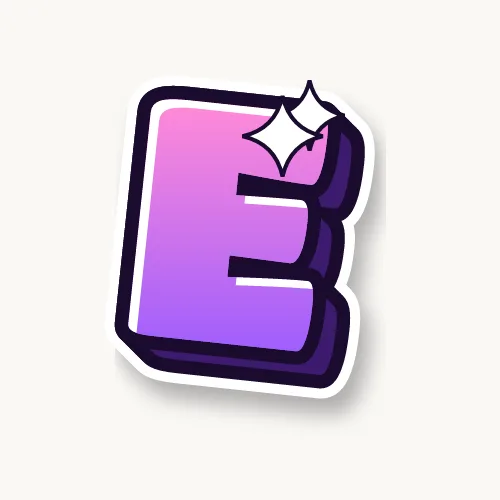
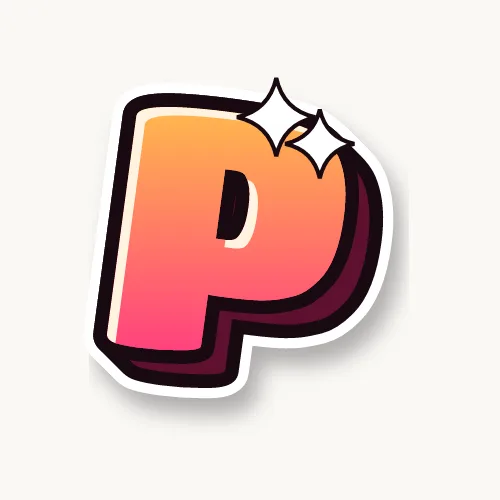
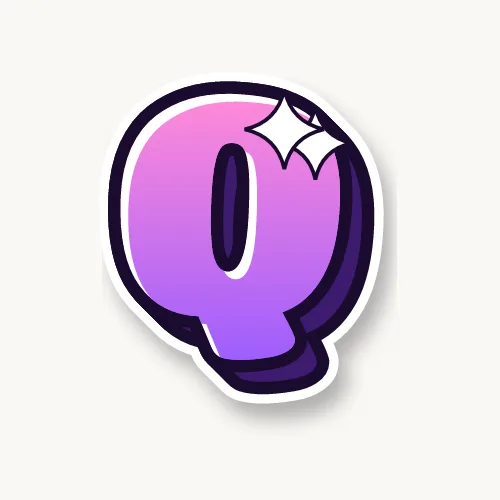
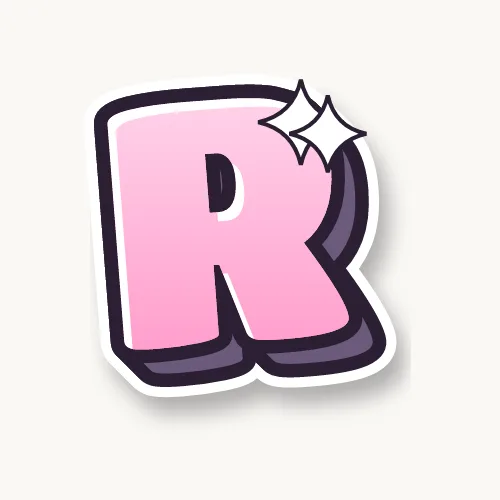
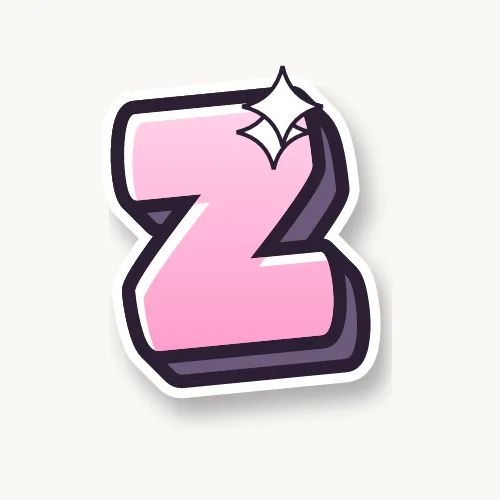
- Use shine marks as decoration. Instead of a plain white highlight line, draw a short curved line plus one or two small dots near the top-left of each letter. A tiny four-point star in the same spot looks like a sparkle.
- Turn dots into hearts or stars. The dots on i and j, and the period or exclamation mark, are the easiest places for a heart.
- Add tiny faces. Two dots and a small curve inside an O, a, e or the bowl of a B or P give the letter a face. Rosy cheeks are two pink ovals. Keep it to one or two faces per word, or the word gets hard to read.
- Turn drips into slime. Short, round drips with a fat bead at the end look like slime or melting ice cream rather than paint. Color them the same as the letter, or in mint green.
- Sprinkle around the word. Add three to five small stars, hearts, sparkles or bubbles in the empty space around the word, not inside the letters.
In the generator, the Effects tab does several of these for you: raise Bounce for more tilt, keep Shine on for sparkles, and add a little Drips for the slime look.
Fancy bubble letters: ideas and variations
Fancy bubble letters keep the round bubble shape but add decoration on the outline or inside the letter: curly tails, a second outline, patterns and small flourishes. They suit card titles, journal headers and party signs where the word is short and has room to breathe.
- Curly tails. Let the last stroke of letters like a, d, e, m, n and y end in a small curl or loop, as if the letter is waving.
- Double outline. Draw a second line around the whole word, a few millimeters outside the first, and color the gap in a contrasting color or leave it white.
- Patterns inside. Fill letters with polka dots, stripes, checks, hearts, tiny flowers or a leopard print. Draw the pattern with a fine pen first, then color around it.
- Split colors. Draw a wavy line across each letter and color the top and bottom halves in two pastels.
- Joined letters. Overlap the letters so each one sits slightly over the next, always in the same direction, for a cursive feel.
- Little extras. A bow on the corner of the first letter, a crown over a capital, or a flower in place of an O.
Fancy does not mean crowded. Pick one or two of these per word. A name with a double outline and polka dots already looks finished.
What colors make bubble letters look cute?
Pastels make bubble letters look cute: soft pink, peach, butter yellow, mint, baby blue and lilac. Color each letter differently, keep the outline dark plum or navy instead of pure black, and add white highlights. Bright candy pinks and purples work too, as long as the shapes stay round.
- Pastel rainbow: pink, yellow, mint, blue, lilac, one per letter, repeating.
- Strawberry milk: pale pink fill, hot pink fade at the bottom, white dots.
- Candy: pink fading into purple, the look of the generator's Candy palette.
- Mint and peach: alternate the two for a soft, spring look.
- Cotton candy: baby blue and pink split down each letter.
Colored pencils give smooth pastel tones if you press lightly; markers give flat, even color. For highlights on top of marker, a white gel pen or white paint marker works best. The coloring pages guide has more on fades.
Where to use cute bubble letters
Cute bubble letters work anywhere a word should feel friendly: names on notebook covers, journal and planner headers, birthday cards, classroom labels, bedroom door signs and sticker designs. For a party, the happy birthday bubble letters page has a ready-made banner. To color by hand, print the outlines from printable bubble letters and decorate them with the ideas above.
Type any name into the generator with the Bubble style and the Pastel mix palette, then download a PNG with a transparent background to use on a card, a poster or a sticker sheet.