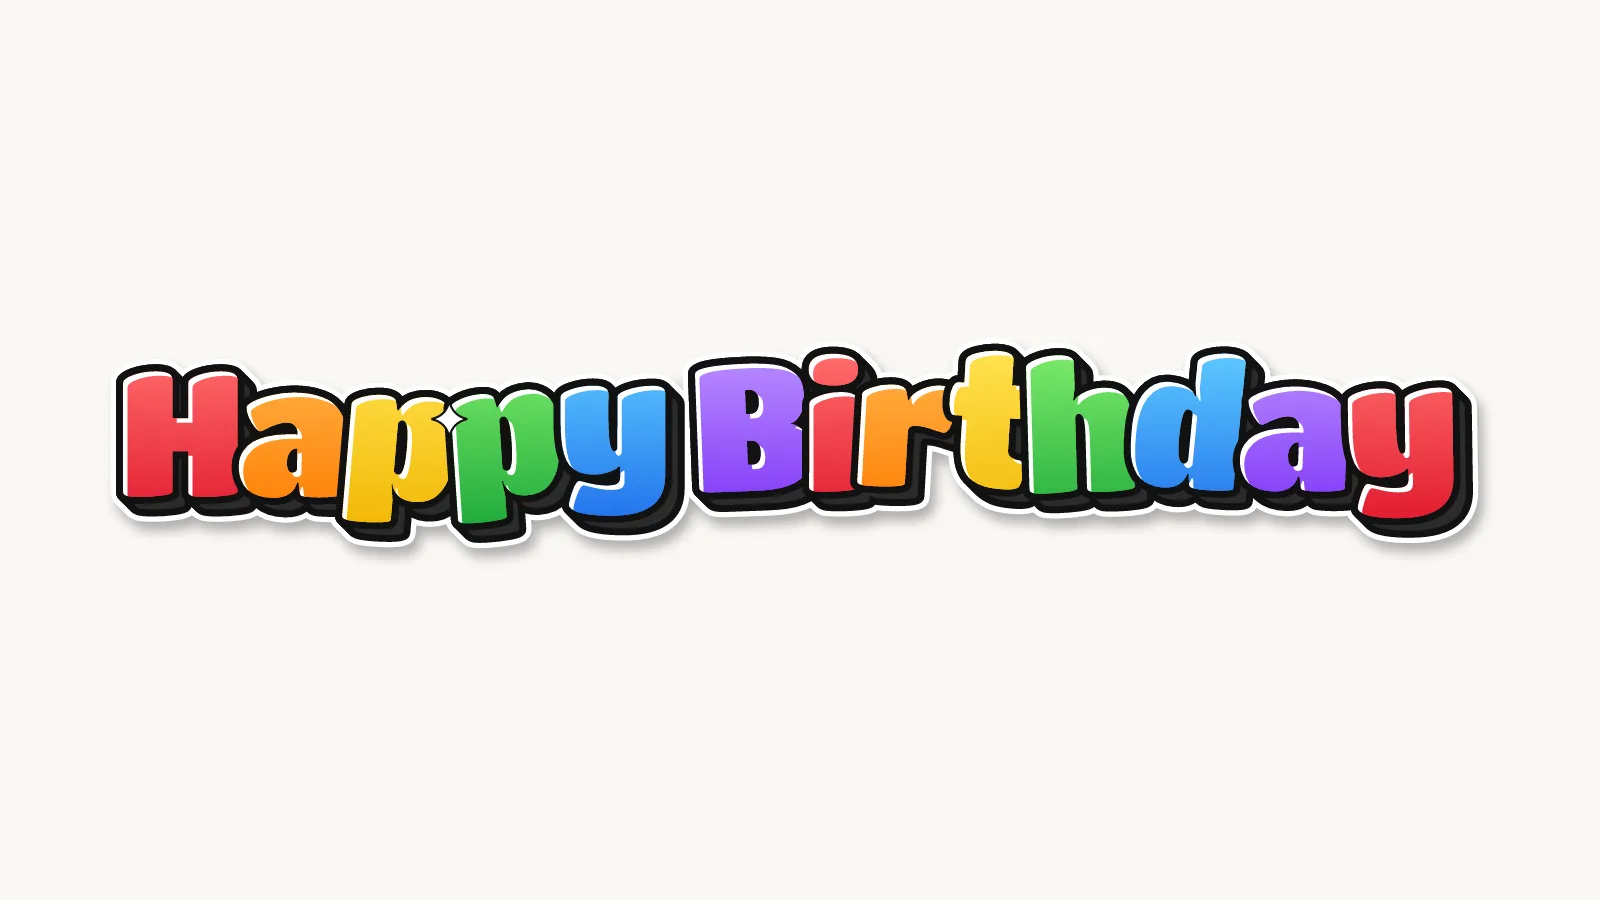
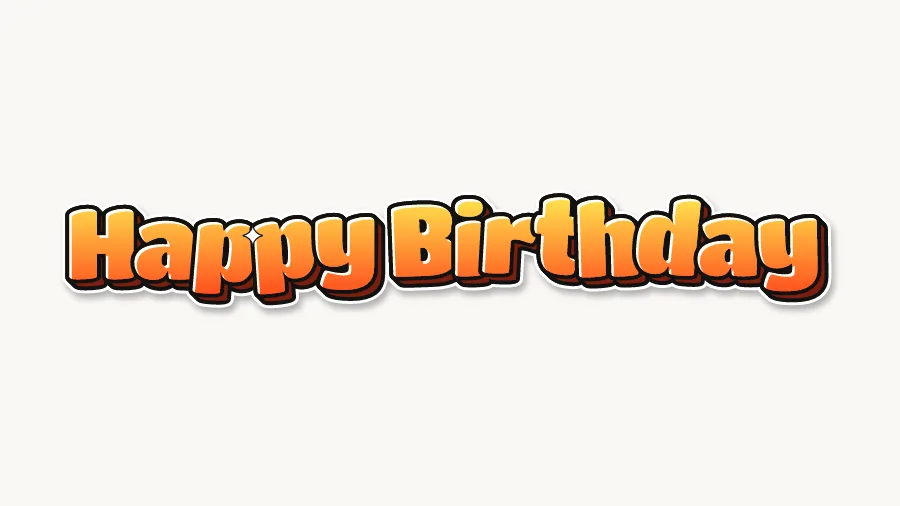
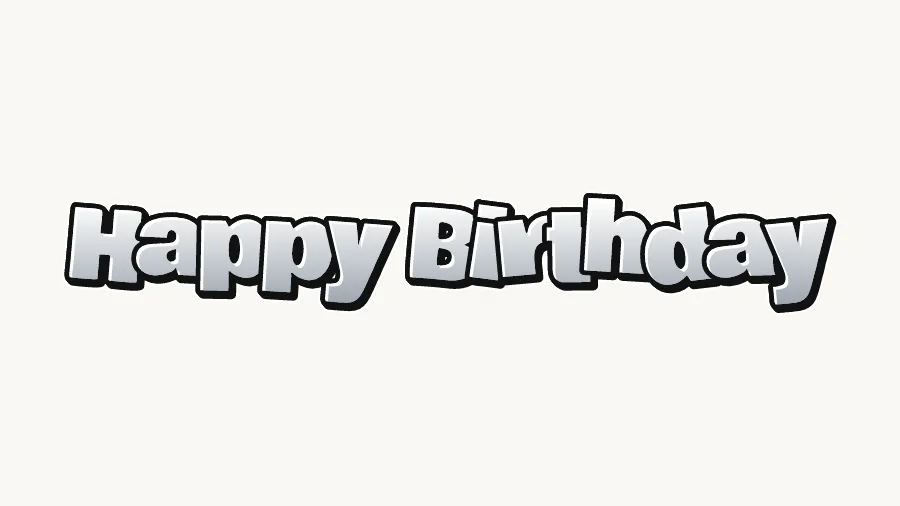
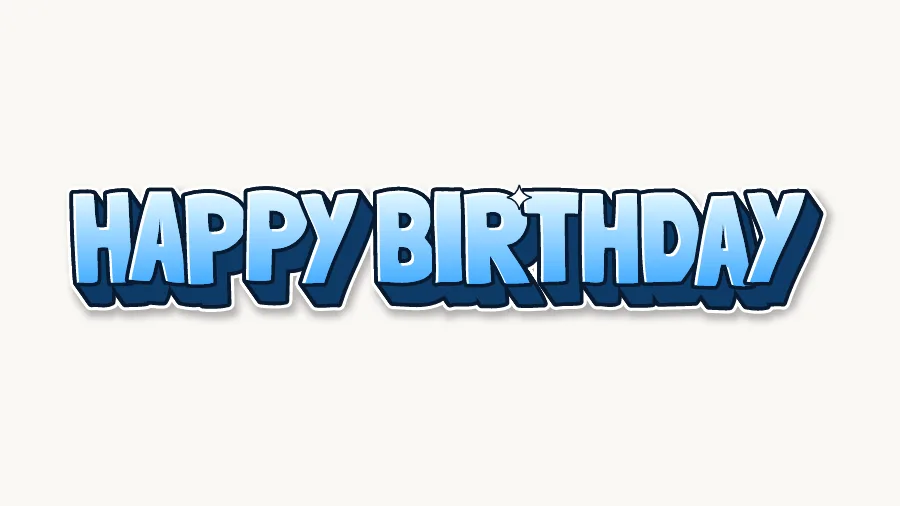
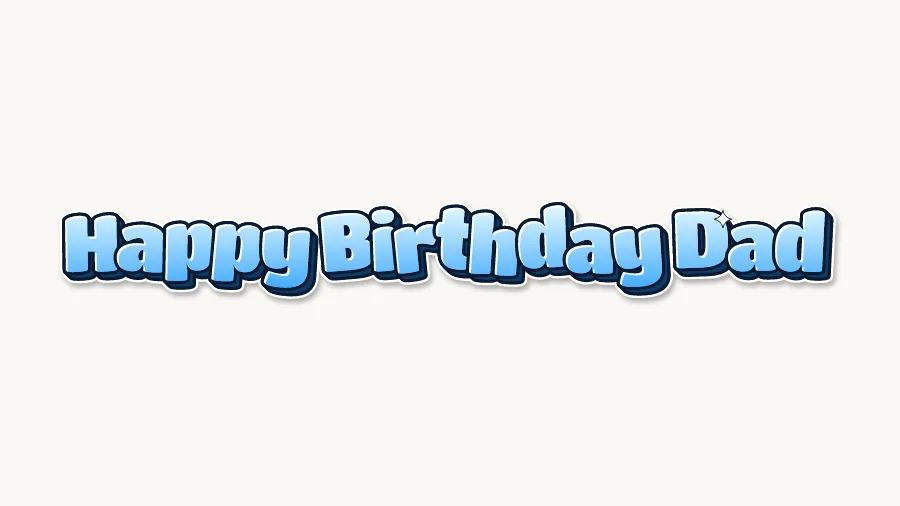
To write Happy Birthday in bubble letters, pencil HAPPY on one line and BIRTHDAY under it, draw a round outline
around each letter, then color, outline in black and add a shadow. Below are the steps, layout ideas for cards and
posters, six graffiti styles, and a free printable banner with one letter per page.
How do you write Happy Birthday in bubble letters?
Write the words as a light pencil skeleton with wide gaps, inflate each letter into a soft round shape, then fill,
outline and shade. Happy Birthday has 13 letters, so the whole trick is planning the space before you draw anything
big. These steps work on a card, a poster or a whiteboard.
Measure the space first. Lightly mark the left and right edges and the height you want. For a
folded card, letters about 2 cm (3/4 inch) tall fit on two lines. On a poster, go for 8–10 cm (3–4 inches) so the
words read from across the room.
Write the skeleton in pencil. Print HAPPY and BIRTHDAY in thin single lines, all the same
height. Leave about a letter's width between letters, because each one is about to get much fatter. Start with the
middle letter of each word (the first P in HAPPY, T and H in BIRTHDAY) and work outward, so the words come out centered.
Space the two words. On one line, the gap between HAPPY and BIRTHDAY should be wider than the
gaps inside the words, about one full bubble letter wide. Otherwise it reads as one long word.
Plan the p's and y's. In capitals, every letter sits on the line. In lowercase, the p, p and y in
"happy" and the y in "birthday" drop below it. Leave room under the line, or switch to capitals if the card is
short. The bubble letter Y and P pages show both
forms.
Draw the bubbles. Trace around each skeleton letter about a finger-width out and round every
corner. Let neighbors touch or tuck slightly behind each other. Erase the skeleton.
Color, outline, shade. Fill first, then go around each letter with a thick black marker, then
add a 3D block on one side and white highlight marks. The full method, with pictures for each step, is in the
bubble letters guide.
Keep everything in pencil until the spacing looks even. Ink is the last step, and it is the only one you cannot
erase.
Happy birthday layout: one line or two?
Use two lines for anything taller than it is wide, like a card, a sign or a cake topper, and one line for long
banners. Two lines let each letter be bigger. HAPPY is shorter than BIRTHDAY, so center it over the second line or
make its letters a little larger so both lines end up the same width.
Stacked: HAPPY on top, BIRTHDAY underneath, the name on a third line. The easiest layout to get right.
Curved: on a banner or poster, draw a gentle arc in pencil and stand each letter on it, tilted to follow the curve. Keep the arc shallow or the end letters lean too far.
Bouncing: lift every second letter a little above the line. It looks playful and hides small size differences.
With the age: put a big number to the right of both lines, or under BIRTHDAY in place of the name. Draw it in the same bubble style; see graffiti numbers for digits.
Leave a margin of empty space around the words for balloons, stars, confetti dots or candles. A crowded edge makes
bubble letters look squashed.
Happy Birthday in graffiti styles
Bubble letters are the classic choice, but Happy Birthday works in any graffiti style. Tap "Make this" to open the
same words and style in the generator, change the colors, and download it as a PNG or SVG.
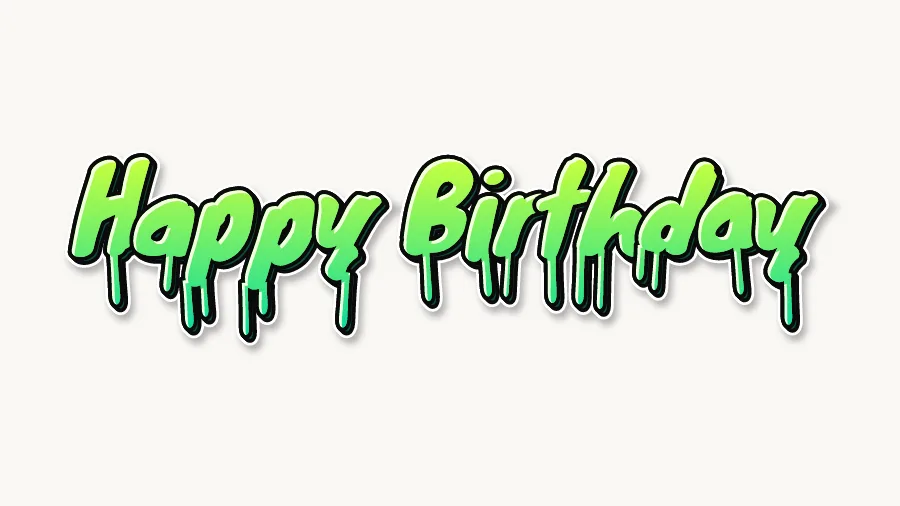
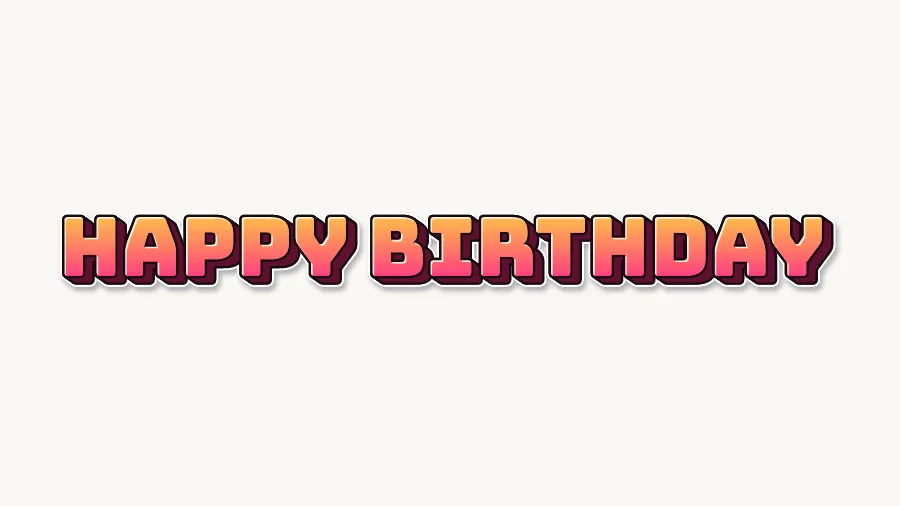
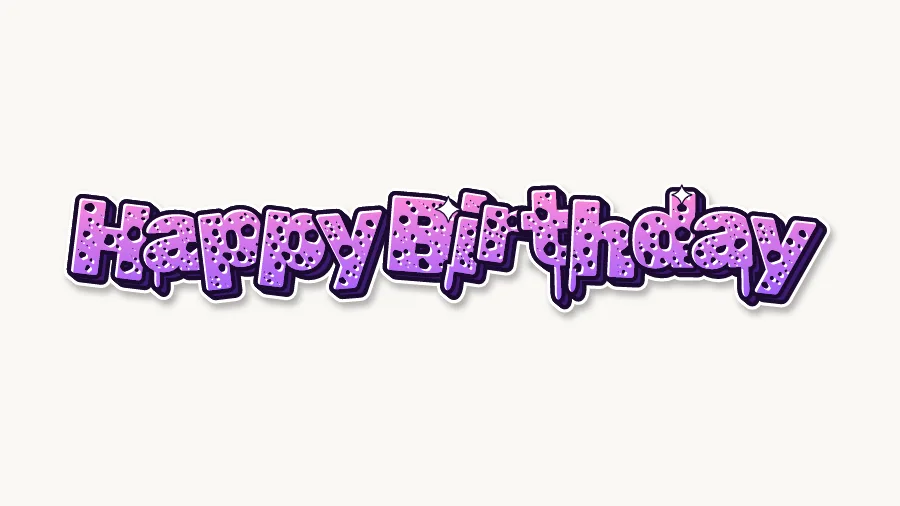
BubbleRound and friendly. The safe pick for kids, cards and banners.Make thisThrow-upFast graffiti bubble letters with a heavy outline.Make this3DTall letters with deep 3D, good for a poster title.Make thisDripWet paint drips. Fun for a teen party or a slime theme.Make thisBlockSquare and bold, easy to read from across a room.Make thisWildBouncing, overlapping letters for a real graffiti look.Make this
For older kids and teens, a throw-up or wild version looks more
like real street graffiti. The graffiti styles page explains how each one is built.
How do you add a name or age to Happy Birthday?
Put the name on its own line under BIRTHDAY, in the same bubble style but in a different color so it stands out.
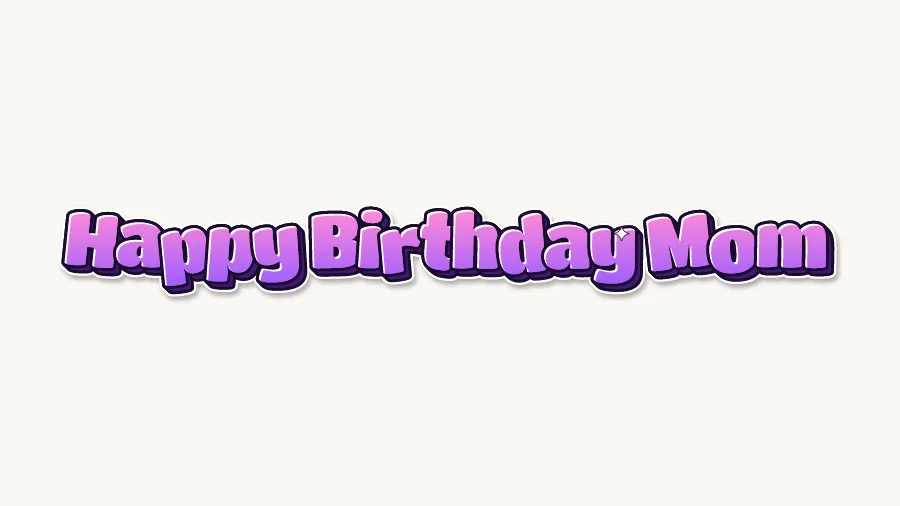
For an age, a large bubble number beside or below the words works best. In the generator, type the full line,
such as "Happy Birthday Mom", and it lays out the letters for you.
Long names fit better on a line of their own. To try a name in other styles, open it in the
generator and switch styles in the Style tab.
Printable Happy Birthday banner letters
The free banner PDF spells HAPPY BIRTHDAY with one big bubble letter outline per page, 13 pages in total. Print it,
color the letters, punch two holes at the top of each page and string them up. The pages
fit A4 and US Letter.
Print with "Fit to page" on. The pages are A4; on US Letter this setting keeps the edges from being cut off.
Use cardstock if you can. Thick paper (65–110 lb) hangs flat, does not curl when you color it with markers, and survives a party.
Color, then cut. Color the letters first, then cut around each one, leaving a thin white border outside the black line.
Punch and string. Punch two holes near the top of each letter, about 2 cm in from the sides. Thread ribbon, yarn or baker's twine through the front of one hole and out the back of the other, so the string stays hidden.
Hang in two rows or one. One long string needs about 3 meters (10 feet). For a doorway or a smaller wall, hang HAPPY and BIRTHDAY on two strings, one above the other.
To add a name or an age, print those letters from the printable bubble
letters alphabet and numbers PDFs. They use the same style, so the banner matches.
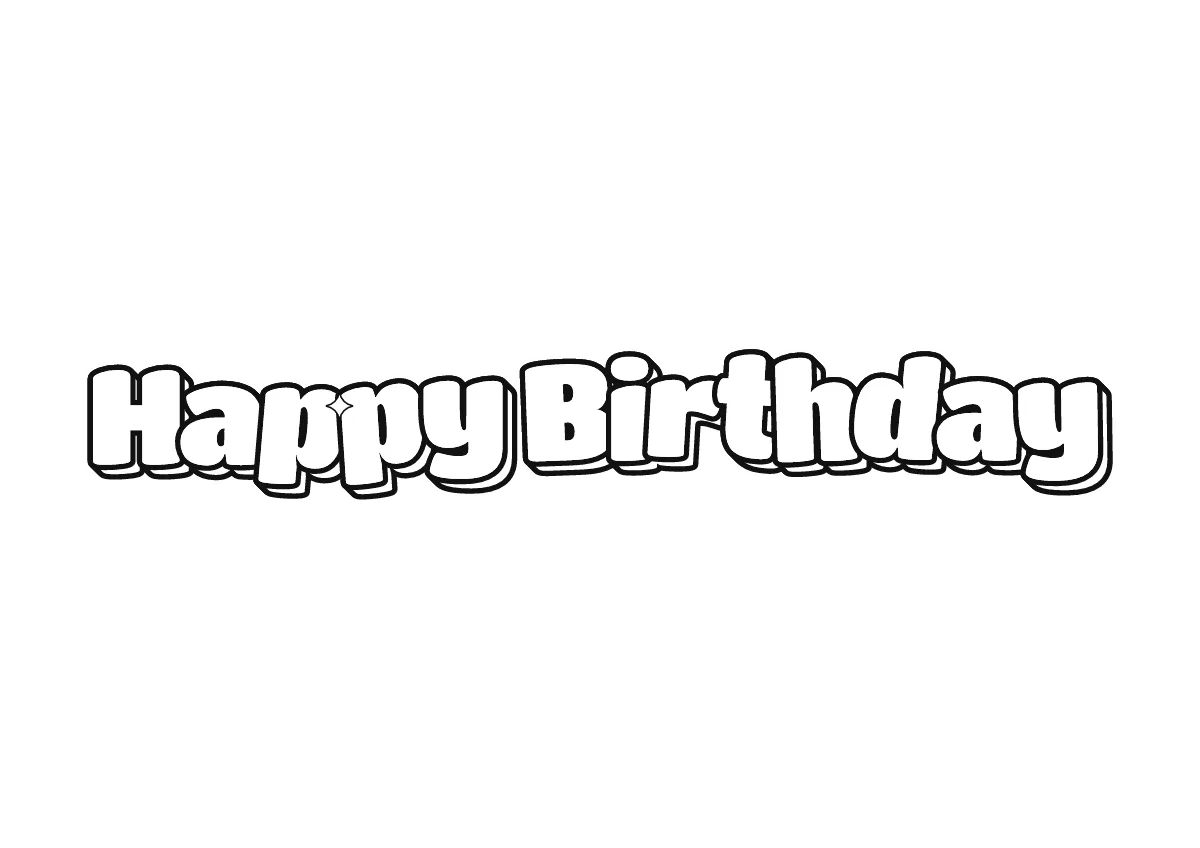
Happy birthday bubble letters coloring page
The coloring version puts Happy Birthday on one landscape page as black outlines on white, ready to print and
color. It is a quick party table activity, or a card a child can color for someone else.
Open the image and print it with "Fit to page", or make your own version in the generator.
A bubble letter card needs only a folded sheet of cardstock, a pencil, a black marker and two or three colors. The
lettering is the decoration, so keep everything else simple.
Pop-out front: draw HAPPY BIRTHDAY on cardstock, cut it out and glue it to the card on small foam squares so it stands off the page.
Favorite colors: fill each letter in the birthday person's favorite color, or one rainbow color per letter.
Pattern fill: stripes, polka dots or tiny hearts inside the letters look fancy and are easy for kids.
Inside message: the front says HAPPY BIRTHDAY, and the inside has the name or age in big bubble letters.
Printed and colored: download a PNG from the generator, print it at card size, and color or glue it on.
For more words and party lettering, see graffiti ideas. Making a card for another
occasion? Words in bubble letters has Thank You, Congratulations, Happy Mother's Day and more,
ready to print.
Questions people ask
How many letters are in a Happy Birthday banner?
HAPPY BIRTHDAY has 13 letters: H, A, P, P, Y, B, I, R, T, H, D, A, Y. H, A, P and Y each appear twice, so if you print from a full alphabet, print those four pages twice. The banner PDF already has all 13 pages in order, so you can print it straight through.
Should Happy Birthday be in capital or lowercase bubble letters?
Capitals are easier for beginners and for banners, because every letter is the same height and none drops below the line. Lowercase looks softer and cuter on a card, but the p and y tails need extra room underneath. Pick one and keep it the same for the whole message.
What colors look best for happy birthday bubble letters?
A rainbow, one color per letter, is the classic party look. Pastels such as pink, mint and lilac suit younger kids and baby showers. For teens, try a two-color fade with a dark 3D shadow. Whatever you choose, a thick black outline keeps the words readable.
How big should happy birthday letters be on a poster?
On a standard poster board, letters 8–10 cm (3–4 inches) tall fit HAPPY BIRTHDAY on two lines with room for a name and decorations. To fit one line across the board, go smaller, about 5–6 cm. Mark the edges in pencil before drawing so the last letters do not run out of space.
How do you write happy birthday in graffiti?
Start from bubble letters, then make them more graffiti: tilt and overlap the letters, bounce some above the line, add a 3D block, drips or a white outline around the whole word. Throw-up and wild styles are good next steps. The style examples on this page show Happy Birthday in six styles so you can copy the shapes.
Can I use these happy birthday letters for a party or school?
Yes. The banner PDF, the coloring page and generator downloads are free for personal, family and classroom use, including party decorations and class birthday displays. If you want to sell printed cards or banners made with them, check the image license first.
We use optional cookies (Microsoft Clarity, Google Analytics) to see which pages help and what to fix. No ads, no selling data. Cookie policy