
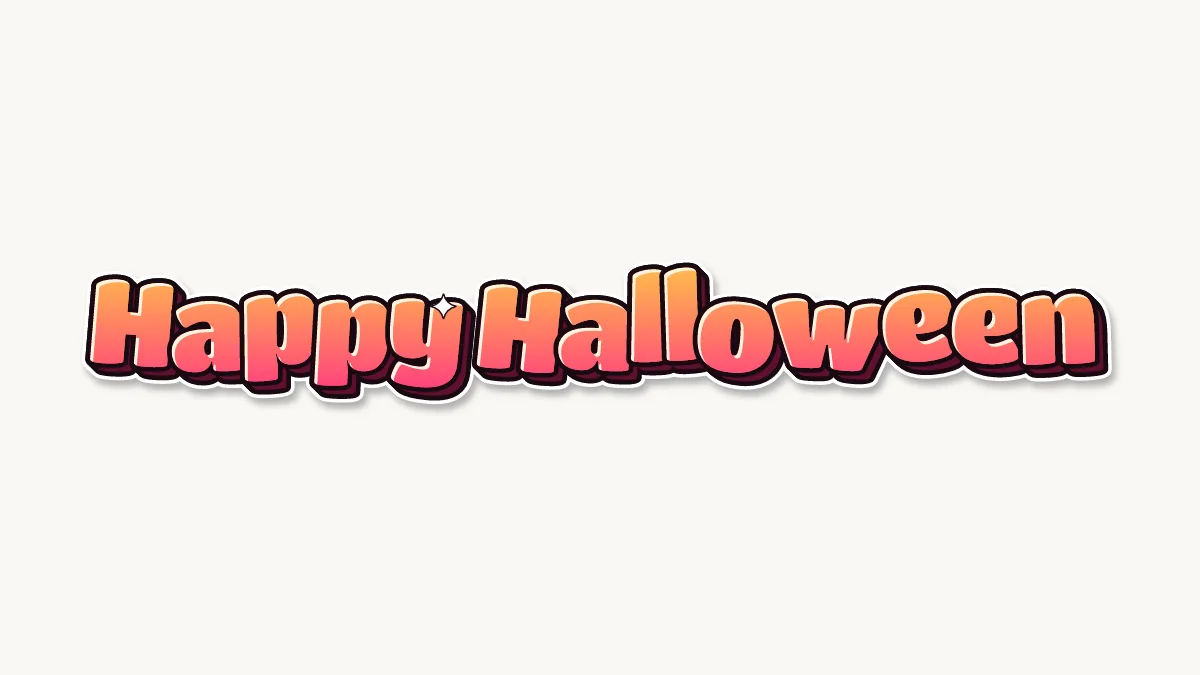
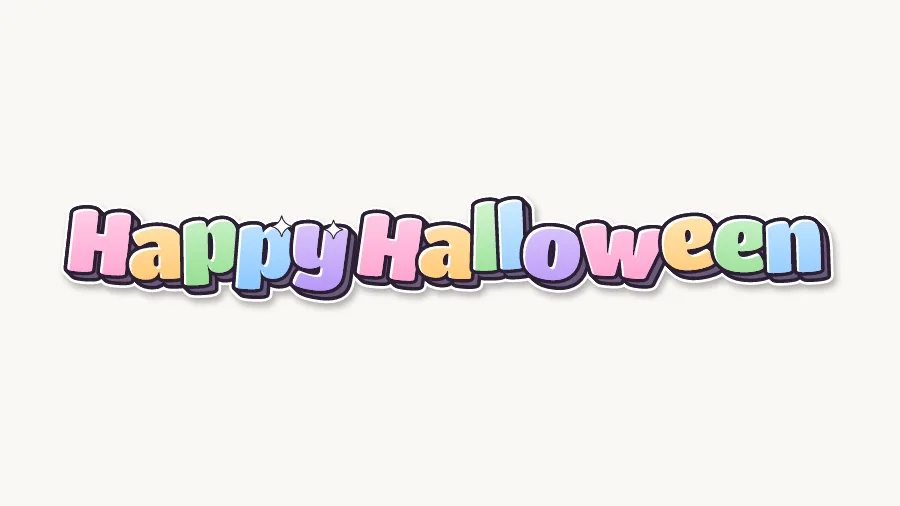
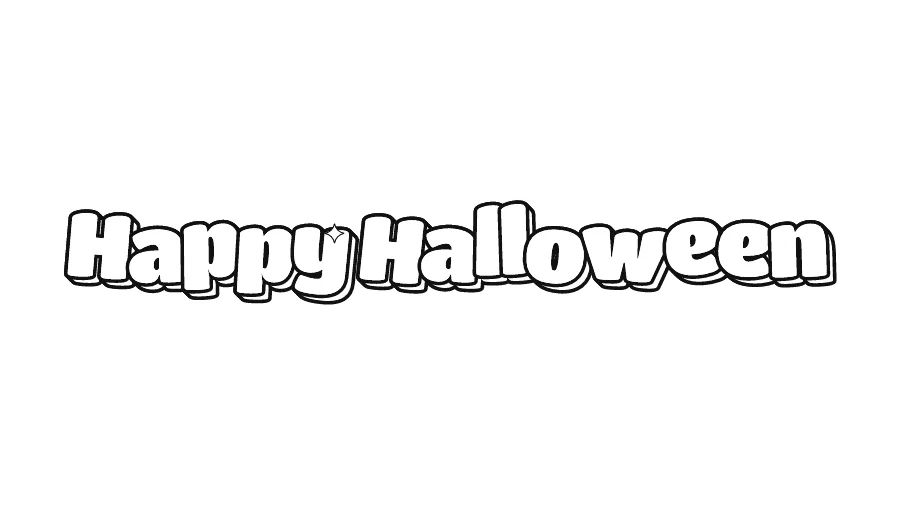
How do you write Happy Halloween in bubble letters?
- Stack the two words. HAPPY has 5 letters and HALLOWEEN has 9. Draw HALLOWEEN first in pencil, then center HAPPY above it. Making HAPPY a bit taller balances the two rows.
- Plan the three doubles. PP, LL and EE all sit side by side. For each pair, tuck the second letter slightly behind the first and keep them identical in size. The LL can share one foot that runs under both.
- Turn the O into a pumpkin. The single O in HALLOWEEN is the natural spot for a pumpkin. Draw a round O with a short stem on top and a few curved ribs inside. Keep it the same height as the other letters.
- Watch the wide W. W is the widest letter here. Round its bottom points into soft U curves and keep it from being twice as wide as the O.
- Leave space for drips. Halloween letters often drip. If you plan drips under HALLOWEEN, leave about a third of a letter height of space below the row.
Ideas for Happy Halloween in bubble letters
- Halloween party poster or invite: HAPPY HALLOWEEN at the top, party details below in plain letters.
- Classroom door or bulletin board: print each row big and add paper bats and pumpkins.
- Trick-or-treat bag: color the outline and glue it to a paper bag.
- Class party coloring page: print the outline for each kid and set out orange and black markers.
- Window sign: print the colored version and tape it facing out for trick-or-treaters.
Colors and decorations for Happy Halloween
Orange, black, purple and lime green are Halloween colors. Try orange letters with a purple shadow, or the Sunset fade (yellow to orange to pink) for a warm glow. Decorate with a pumpkin O, a bat over the W, cobwebs in the corners, a little ghost peeking out from behind the last N, and green slime drips. On a black background, use a white outline so the letters show.
Happy Halloween in graffiti letters
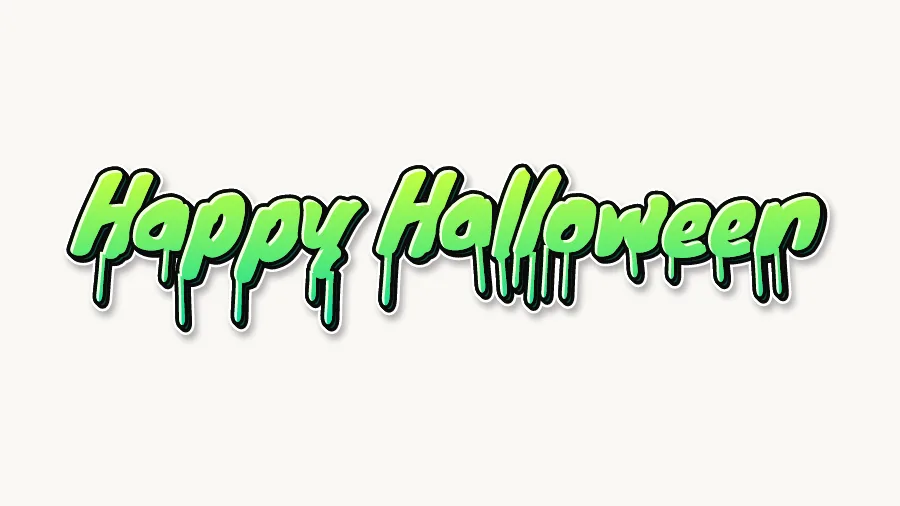
The graffiti image uses the Drip style, which fits Halloween because the letters look wet, like slime or paint. Put most drips under HALLOWEEN, and only a few short ones under HAPPY so they do not run into the row below. Vary the drip lengths and end each with a round drop. See the graffiti styles page for more looks.