
Why trace lines before letters?
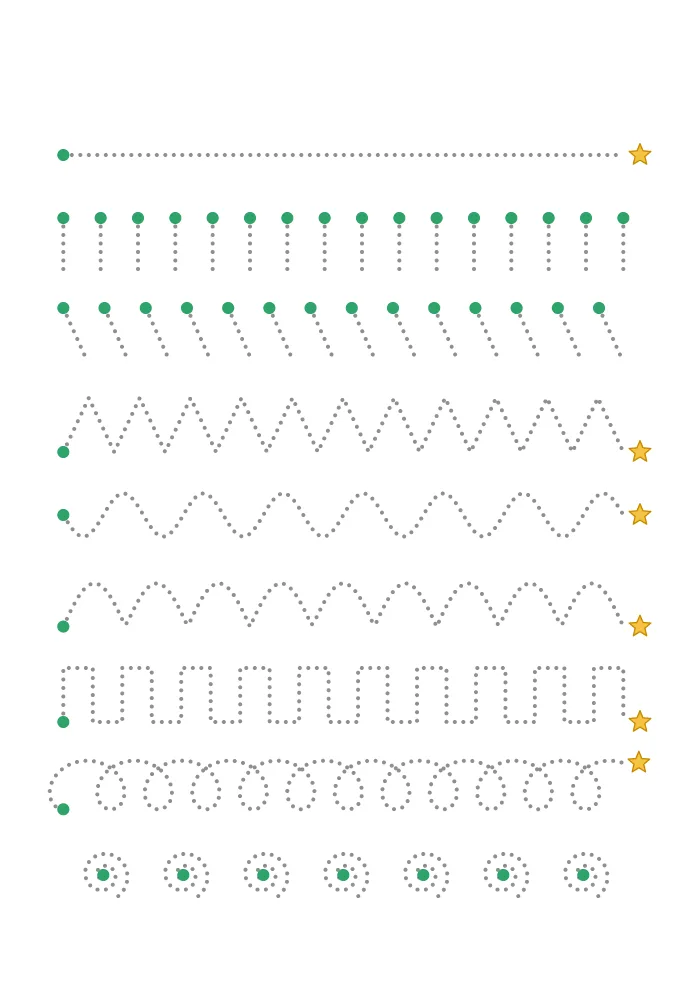
Every letter is built from a handful of strokes: straight lines across and down, slanted lines, curves and loops. Children who can trace those strokes with control find letters much easier, because a letter is just strokes put together. That is why occupational therapists and preschool teachers call them pre-writing lines, and why these sheets go from the easiest stroke to the hardest.
The nine lines, in teaching order
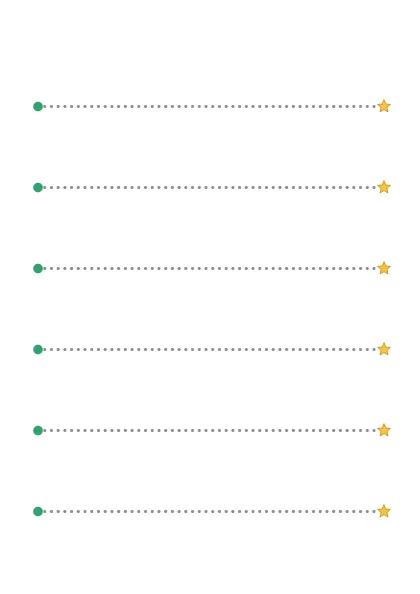
- Straight lines: left to right across the row, the direction we read and write. Usually the first line a 2-year-old can follow.
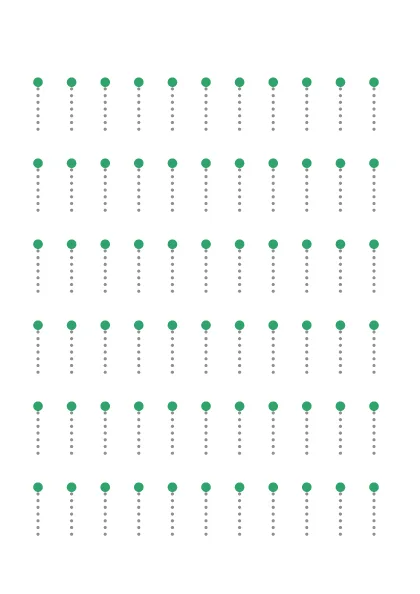
- Standing lines: top to bottom. Starting at the top is the most important habit for handwriting, so say "top to bottom" every time.
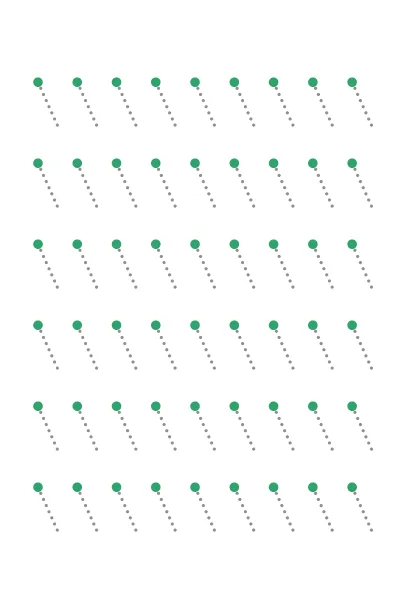
- Slanted lines: top left down to bottom right. These become the slants in letters like k, v, w, x and y.
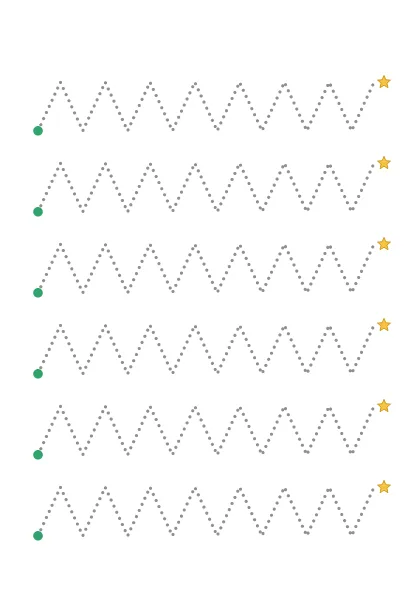
- Zigzag lines: slants that change direction at each point. Stop briefly at every corner instead of rounding it.
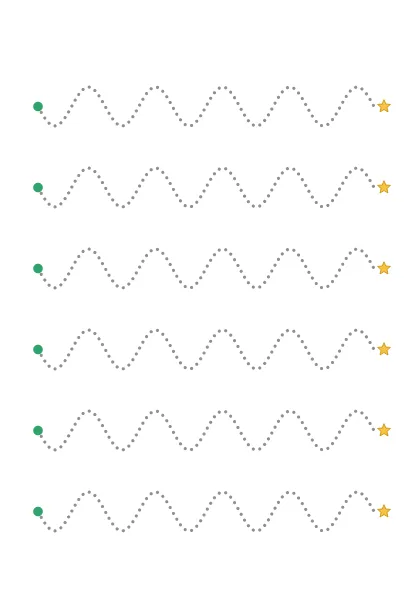
- Wavy lines: smooth up-and-down curves with no corners: the movement for s and the tops of m and n.
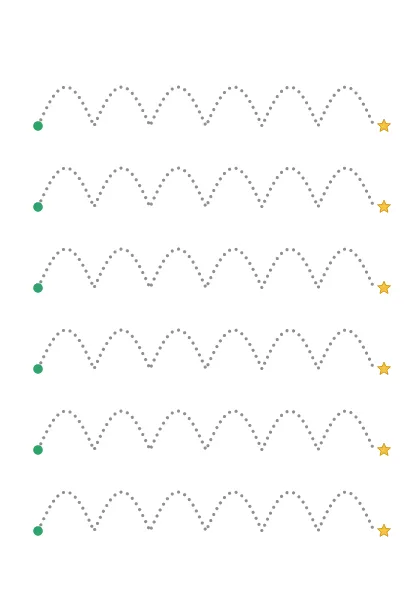
- Curved lines: a row of hills, each landing on the baseline. They train the arch in h, m, n and r.
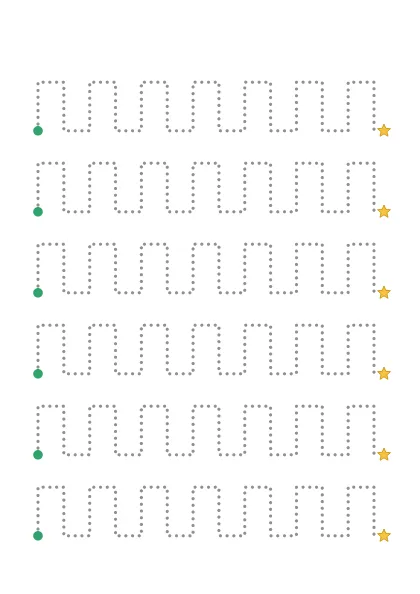
- Castle lines: up, across, down, across. Right angles, like the corners of E, F, L and T.
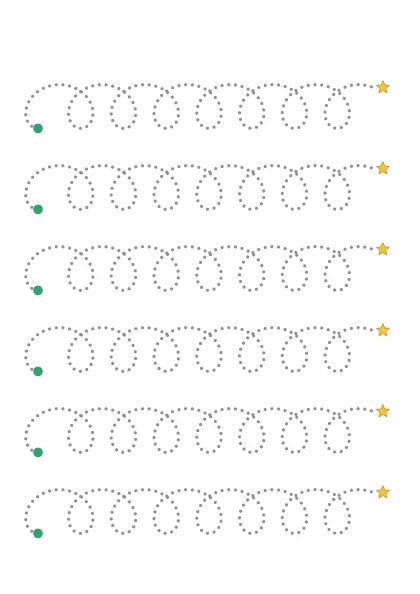
- Loops: the joined loops of cursive l and e. Keep the pencil on the paper for the whole row.
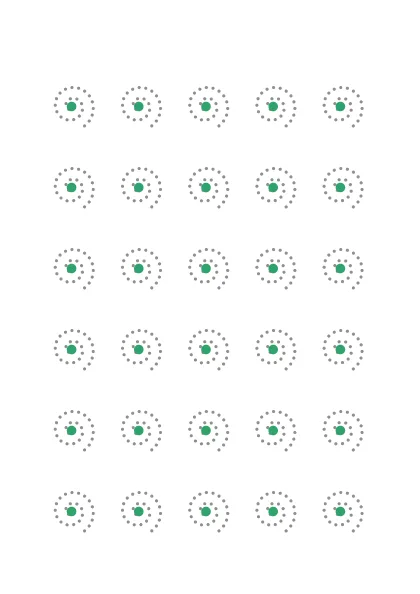
- Spirals: start in the middle and go round and out, a good test of steady, controlled movement.
Big rows or smaller rows?
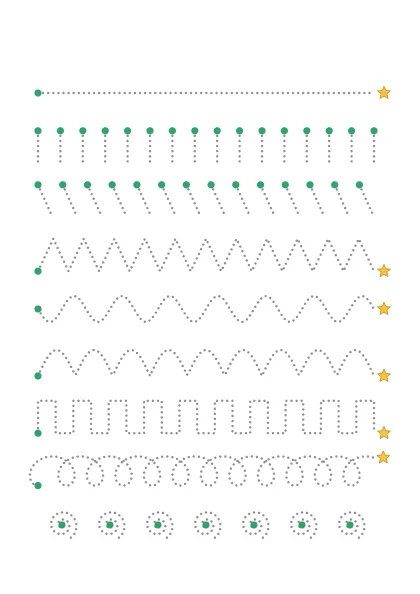
In the maker, Big gives six tall rows per page, made for ages 2 to 4 using crayons or fat pencils. Smaller gives nine rows for ages 4 to 6, closer to the size of handwriting lines. The mixed page always has one row of each line type, which works as a quick check of which lines need more practice.
Tips that make line tracing work
- Start on the green dot, finish at the star. Children like reaching the star, and it keeps every row going left to right.
- Trace with a finger first. Then a crayon, then a pencil. Each step needs a little more control.
- Close is good enough. Staying near the dots matters more than staying exactly on them, especially under age 4.
- Make it a story: the car drives along the road, the frog jumps over the hills, the snake wiggles to the star.
- Laminate one page. A sheet protector and a dry-erase marker turn one page into weeks of practice.
Next steps: shape tracing worksheets, then letter tracing and a name tracing worksheet with your child's own name.