
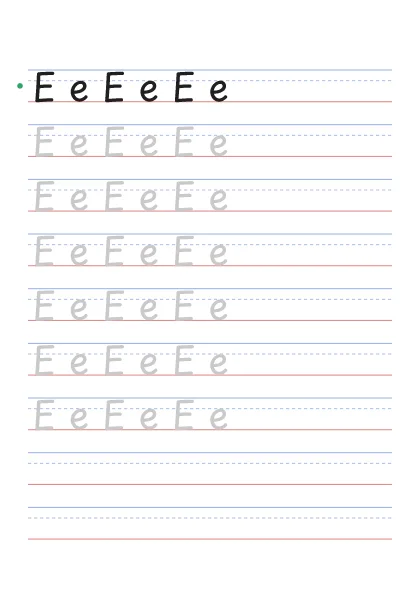
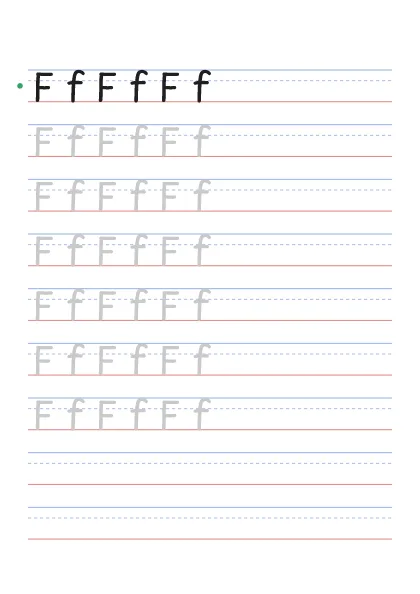
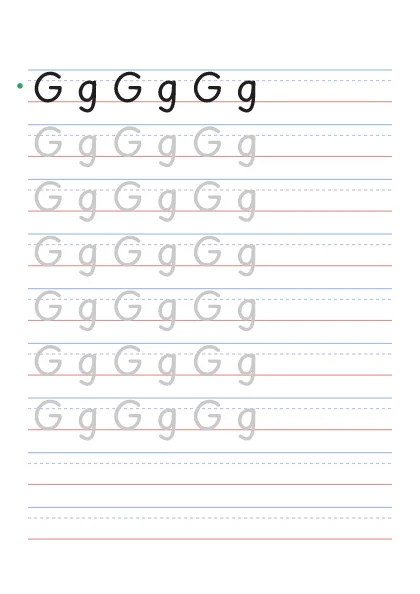
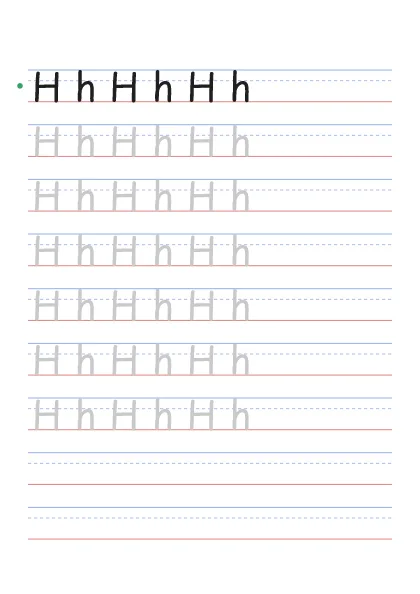
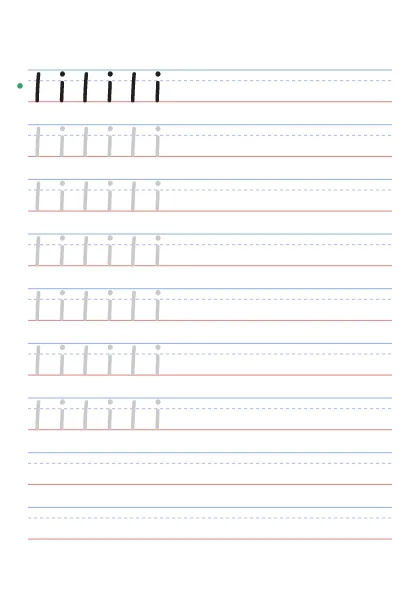
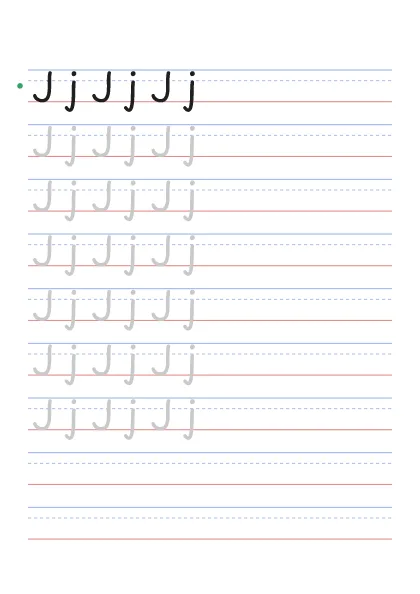
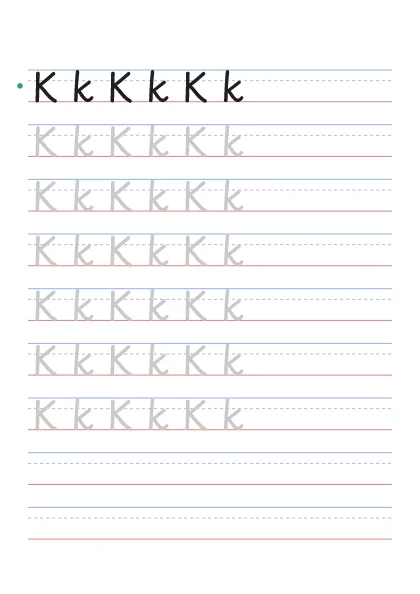
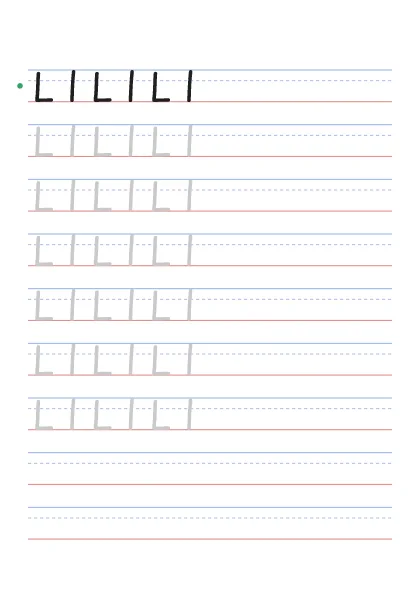
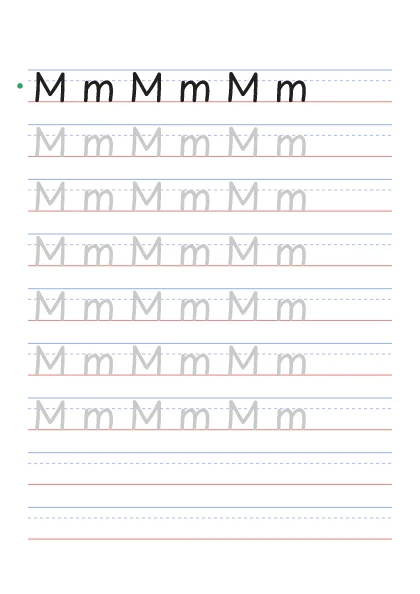
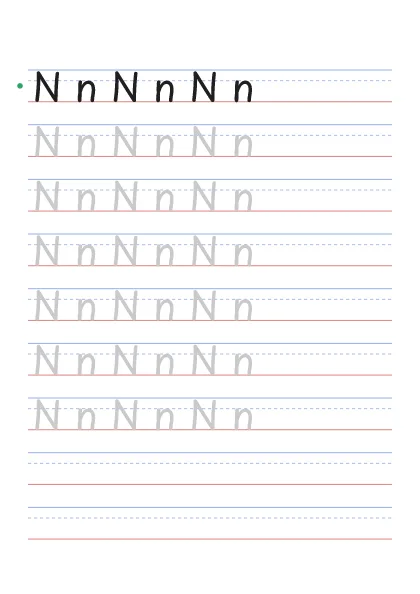
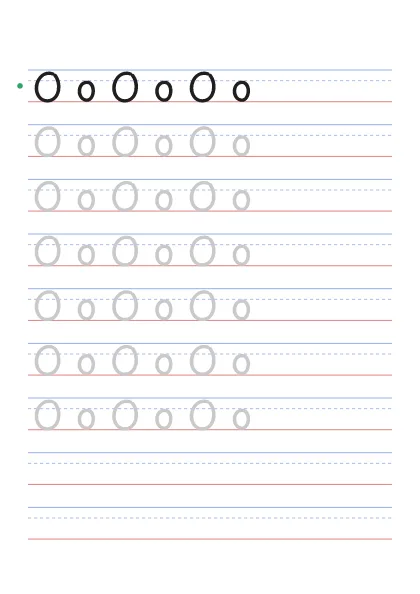
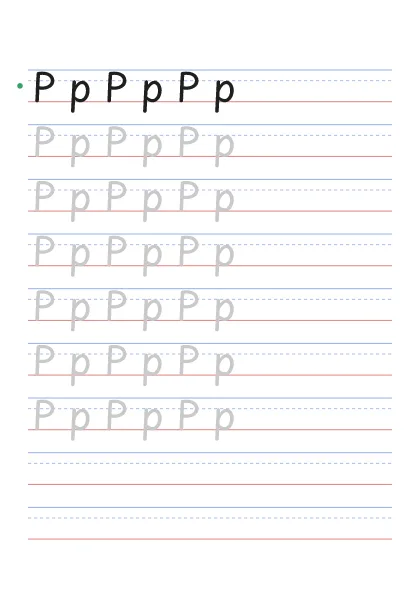

























How do you use alphabet tracing worksheets?
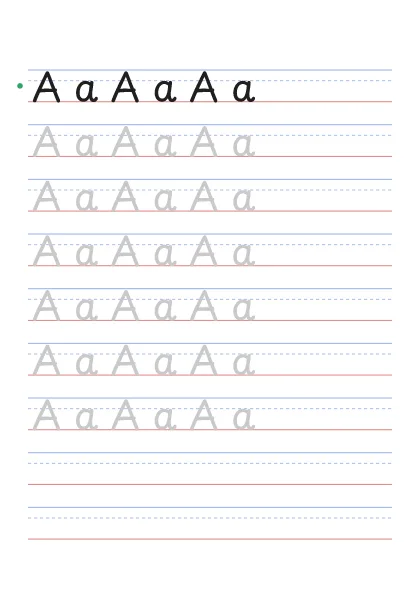
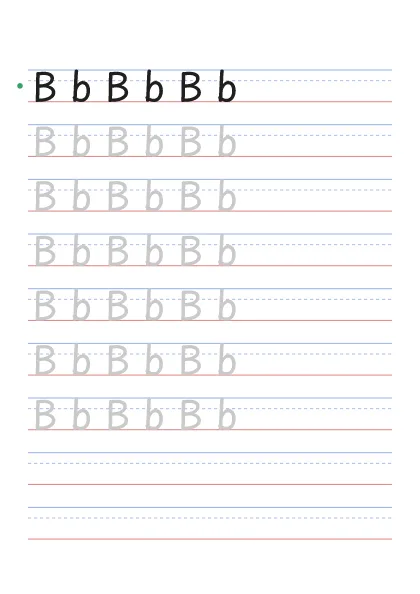
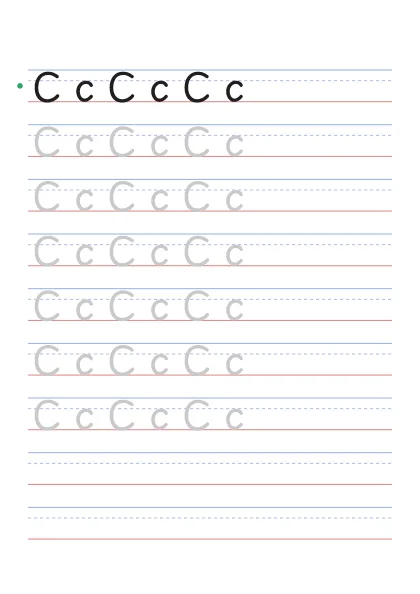
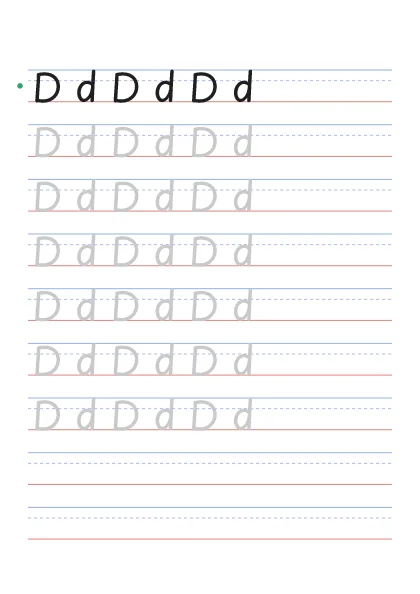
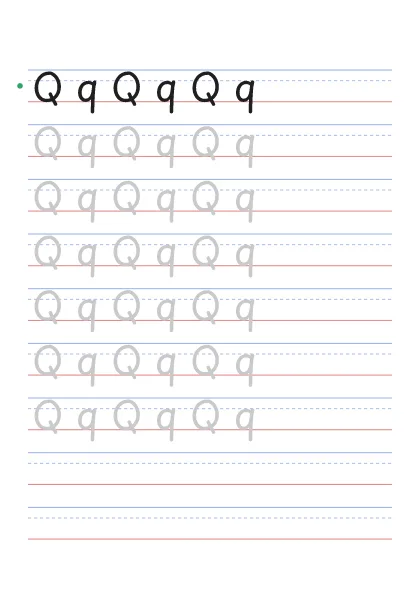
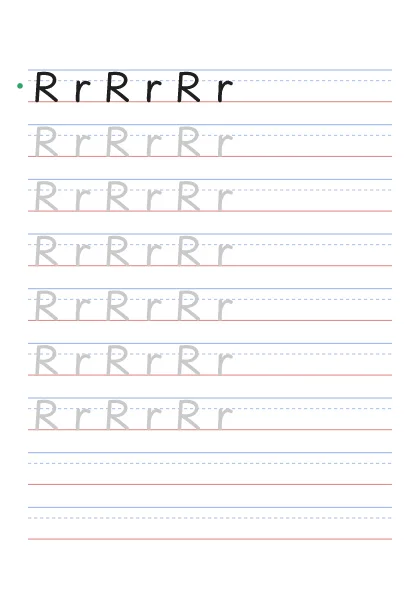
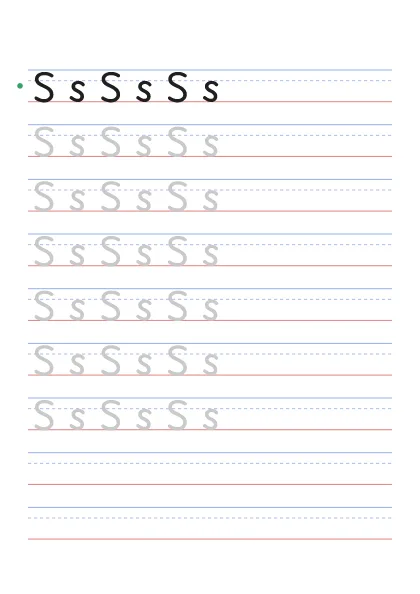
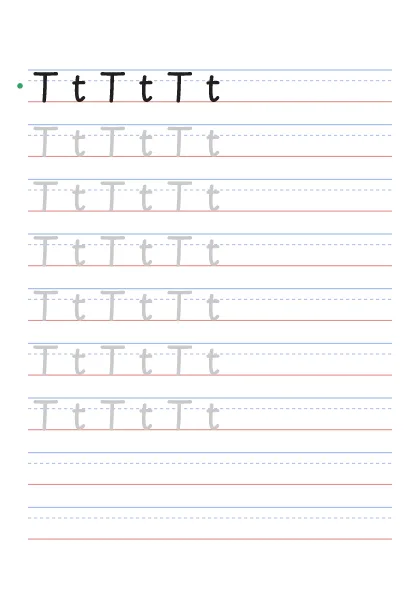
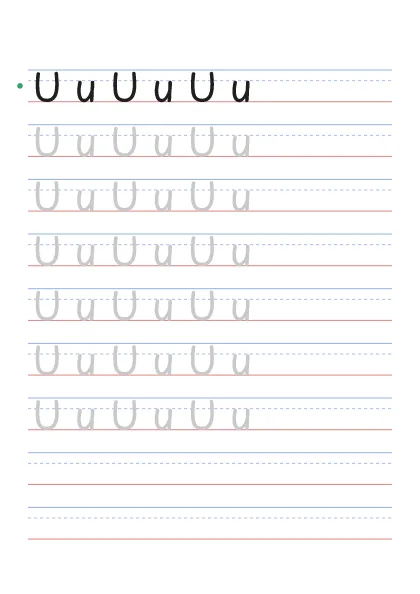
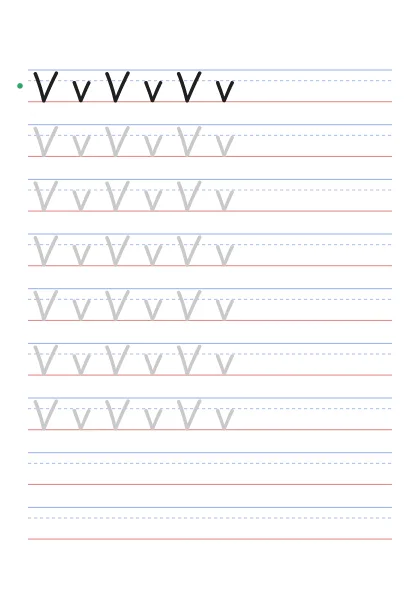
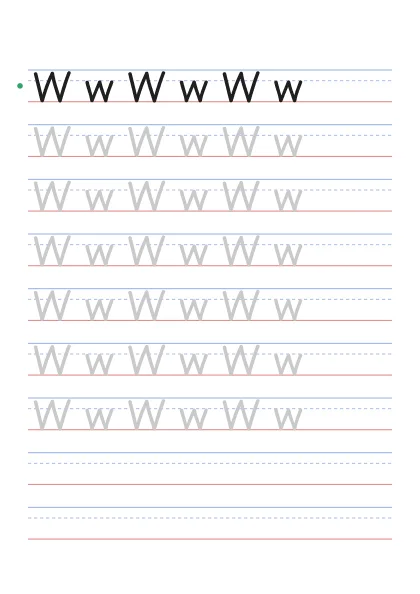
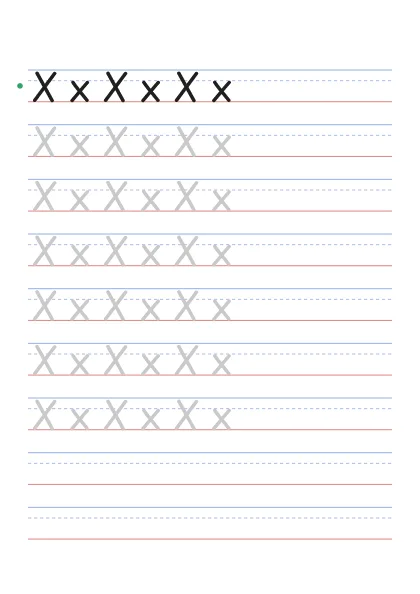
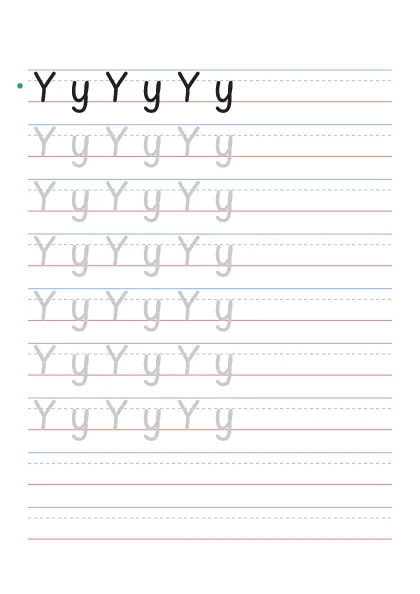
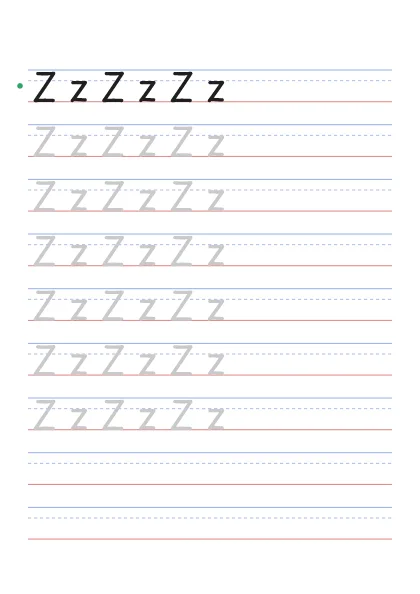
Print one letter, say its name and sound, and have the child trace the dark row with a finger first. Then they trace the gray rows with a pencil, starting each letter at the top. The two empty rows at the bottom are for writing the letter alone, which shows you whether the shape has stuck.
- Talk about the letter. "This is B. B says /b/, like ball." A picture or object helps young children link the shape to the sound.
- Trace in the air or with a finger. Big arm movements first, then a finger on the dark row.
- Trace the gray rows in pencil. Slow is better than fast. A few neat letters beat a whole page of rushed ones.
- Write it alone. Use the empty rows. If the letter falls apart, trace one more row and try again.
- Circle the best one. Ask the child to pick their neatest letter. Judging their own work teaches them what a good letter looks like.
The guide lines are the usual handwriting kind: a blue top line, a dashed blue middle line and a red baseline. Tall letters touch the top line, short letters stop at the dashed line, and every letter sits on the red line.
Which order should kids trace letters in?
Start with letters made only of straight lines, such as L, I, T and H, then move to slanted lines and finally curves. That order follows how a child's hand develops: a vertical line comes before a diagonal, and a controlled circle comes later. Going A to Z is fine for review, but it puts hard letters like A and K near the start.
- Straight lines: L, I, T, H, F, E
- Slanted lines: V, X, A, K, M, N, W, Y, Z
- Curves and circles: C, O, Q, G, S
- Lines plus curves: D, P, B, R, U, J
For lowercase, many teachers start with the letters that begin like a C: c, a, d, g, o, q. Once a child can make that curve, they have the start of six letters. Print the pages in any order you like: the page number is the letter's place in the alphabet, so L is page 12 and T is page 20.
Stroke direction basics
Letters are formed top to bottom and left to right. Vertical lines pull down from the top, horizontal lines go left to right, and circles start near the top and go counterclockwise, like the letter C. Good habits here make writing faster and neater later, and they are much easier to build than to fix.
- Lift the pencil between strokes in letters like E, F, T and H, and start each new stroke at the top or the left.
- Watch for bottom-up lines. Children often start the down line of a d or b at the bottom. Gently show them the top start again.
- Mixing up b and d is normal for young writers. Teach b as "down, up and around" and d as "around like c, then up and down".
Uppercase vs lowercase: which comes first?
Most children find capital letters easier, because they use more straight lines and all sit between the top line and the baseline. Lowercase letters matter more for reading and writing, since most text is lowercase. That is why every page here shows both: "A a A a A a" puts the pair side by side so children learn them as partners.
A good rule is capitals first for the youngest children, then both together. For writing a name, use a capital first letter and lowercase for the rest; the name tracing worksheet maker builds a sheet like this for any name.
Why trace bubble letters?
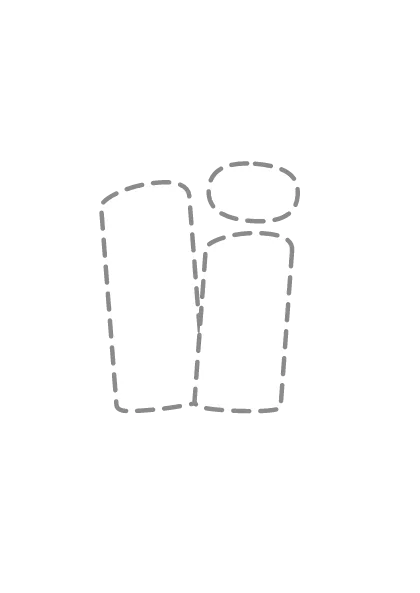
Tracing a bubble letter's dashed outline is a different skill from writing the letter. The child follows a long, curving line around a big shape, which builds pencil control and letter recognition without the pressure of exact handwriting. Then comes the reward: coloring it in.
Use the bubble pages as a warm-up before the handwriting sheets, or as a quiet activity for a child who is tired of rows. Let them color inside with stripes, dots or a rainbow. Older kids who want to draw bubble letters freehand can open a letter page such as bubble letter A or S for step-by-step drawing. For solid outlines without dashes, use the printable bubble letters instead.
How many minutes a day should kids practice tracing?
Short and often works best. For preschoolers, 5 to 10 minutes is enough; kindergarteners can do 10 to 15. One letter a day, or one letter over two or three days, is a steady pace. Stop before the child gets frustrated, because a tired hand starts building bad habits.
Mix it up so it does not feel like the same page every day: trace in sand or shaving foam, make the letter with play dough, then do the worksheet. For reuse, put a sheet in a clear sleeve and trace it with a dry-erase marker.
Printing tips for letter tracing worksheets
Both PDFs are A4. On A4 paper print at 100%; on US Letter, turn on Fit to page so the empty rows at the bottom are not cut off. The pages are black and gray on white, so grayscale or draft mode prints them fine and saves ink.
- Print one letter: type its page number in the print dialog, such as 1 for A or 13 for M.
- Print a week's set: list pages with commas, such as
12,9,20,8for L, I, T and H. - Make a booklet: print all 26 pages, add a cover with the child's name and staple or bind them.